Monday, December 10, 2018
Store-2-old-guys.com: Start an Art Collectible Hobby and Beautify Your H...
Store-2-old-guys.com: Start an Art Collectible Hobby and Beautify Your H...: Start an Art Collectible Hobby and Beautify Your Home Collecting is a fun hobby, and one of the most interesting things to collect are art...
Start an Art Collectible Hobby and Beautify Your Home

Start an Art Collectible Hobby and Beautify Your Home
Collecting is a fun hobby, and one of the most interesting things to collect are art collectibles. Many different items can be painted with artwork and become an art collectible. Hobby enthusiasts collect such things as saw blades, and wooden eggs which have had artwork painted on. People even collect designer rugs as art. Another art collectible hobby is collecting limited edition plates, thimbles, Christmas ornaments, and figurines produced by such companies as Bradford Exchange. And of course, many people collect fine art paintings. The person with an art collectible hobby will probably find his or her own favorite artists whose works they appreciate. They can choose to focus on one particular artist, either past or present, or they can choose from the works of many artists. On the other hand, they may collect art and art objects around a theme they enjoy, such as cigars, wild animals, or piano music. One may think of an art collector as a rich person who has the money to spend hundreds of thousands of dollars on an original Van Gogh. A person of more modest means can collect art too, however. Post cards are a good place to start. Most art museum gift shops offer high quality, glossy postcards printed with some of their more notable acquisitions. By buying those cards one really appreciates, anyone can have an art collection. Ebay is a good source of art collectibles whatever type of art or collectible you fancy. In fact, if you are just starting out, the choices and options can be overwhelming! Just remember that you can sell your own belongings as well as buying those of others. This should make the impact on the budget a little less powerful. Other ideas for inexpensively collecting art collectibles are scouring flea markets, thrift shops, and garage sales. You never know what treasure someone else may be getting rid of. One nice thing about art collectibles is that artists can be found in every part of the world. The art collector should scout the local art shows, museums, and artist's hangouts to find out just what sort of talent can be had less expensively and close to home. Because of the local flavor of some artwork, art collectibles make good travel souvenirs. For instance, the artist Linda Barnicott specializes in paintings of scenes, buildings, and landmarks found around Pittsburg, Pennsylvania. Similarly, collectors can find local artist almost everywhere. An art collectible hobby will keep you interested in life and give you a home filled with art masterpieces as well. If you enjoy pretty and interesting things around you, consider starting an art collectible hobby today.
 Website Stores
  http://art-and-craft-hobbies.com/
  http://art-and-craft-hobbies.com/shop/
  group Art Studio of Lewis Baber , Post and Sell your ART. https://www.etsy.com/shop/Magikaljourneys?ref=seller-platform-mcnavArt
  Two Old Guys Folk Art Share this: http://Gallery-Wall-Art.com
Sunday, December 9, 2018
Craft a Garden Scrapbook

 How to Craft a Garden Scrapbook Garden scrapbooks can present a natural feeling when the audience is reading your storybook. Flowers are one of the popular natural-based elements that many people cherish. You can store flowers in a scrapbook to craft a garden style creation. To start you will need a dried flower. Compress the flower placing it into your scrapbook pocket, such as the memorabilia. Next, glue, tape, etc, the flower so that it is sticking on the page securely. You may have seen flowers preserved in bibles. The process in scrapbooks is similar, only you want to stick the flowers so that it does not fall out. How to craft flowers for scrap booking: You can use corsages, bouquets, or the colored part of the flower to craft your garden scrapbook. The compressed and dried flowers should be in a straight line, added to your scrapbook page, and smoothly seated near your photographs. Your dry flowers and compressed flowers should be laminated. Use Xyron, or any acid-free product to laminate your flowers. During the fall is the best time to pluck materials to make up a garden scrapbook. As you make up your garden scrapbook consider title page, captions, journal, lettering, photos, plant species, headings and more. If you are adding fall leaves to your scrapbook, you may want to visit a copy shop. You will need to place the leaves in a sealed container when transferring the leaves. The leaves with depreciate over time if you fail to follow instructions. You can add the leaves at your title page to start your garden scrapbook. If you are making up a scrapbook to present your garden, snap a few pictures and make up a blueprint. The blueprint should include each detail of your garden. Following, you can add a journal to let your friends and family know how you invented your garden. When to take photos: Spring, summer, winter, and fall is the best time to take photos of your garden. Each season provides you a variety of colors, shades, texture, blooms, etc. Once you snap the shots add them to your garden scrapbook. If you want to get created you can cut, paste, and add extras to your scrapbook, i.e. cut magazine clips based on your garden theme and add them to your scrapbook. Also, you can add tips beside your pictures to help your family and friend learn. During the seasons, you want to document your gardens activities as well as your own to create a genealogy, and history of your scrapbook. Record detail specifics to help your audience learn from your efforts. During the summer record, the blooms so that when winter comes you can look back on your success. When the blooms start to grow, you may want to snap photos so that you can add to your scrapbook. Try crafting your scrapbook in a chronological order so that your book tells the story you want to portray to the audience.
  Some people add special rocks to their scrapbook. If you decide to add, rocks try to find the small, flat rocks. The thicker, bulk rocks will only interrupt your scrapbook. Flowers are beautiful inside scrapbooks. The flowers that set off garden scrapbooks include roses of all colors, daffodils, tulips, crocuses, and so on. Still, if you add flowers to your scrapbook you want to use petals that harmonize with your theme. For instance, if you are crafting a summer page, then use colorful flower copies. If you are crafting a fall theme, then use the flowers that flow in harmony with your theme. Website Stores http://art-and-craft-hobbies.com/ http://art-and-craft-hobbies.com/shop/ group Art Studio of Lewis Baber , Post and Sell your ART. https://www.etsy.com/shop/Magikaljourneys?ref=seller-platform-mcnavArt Two Old Guys Folk Art Share this: http://Gallery-Wall-Art.com
How to Craft Chimes
[caption id="attachment_176" align="alignnone" width="613"]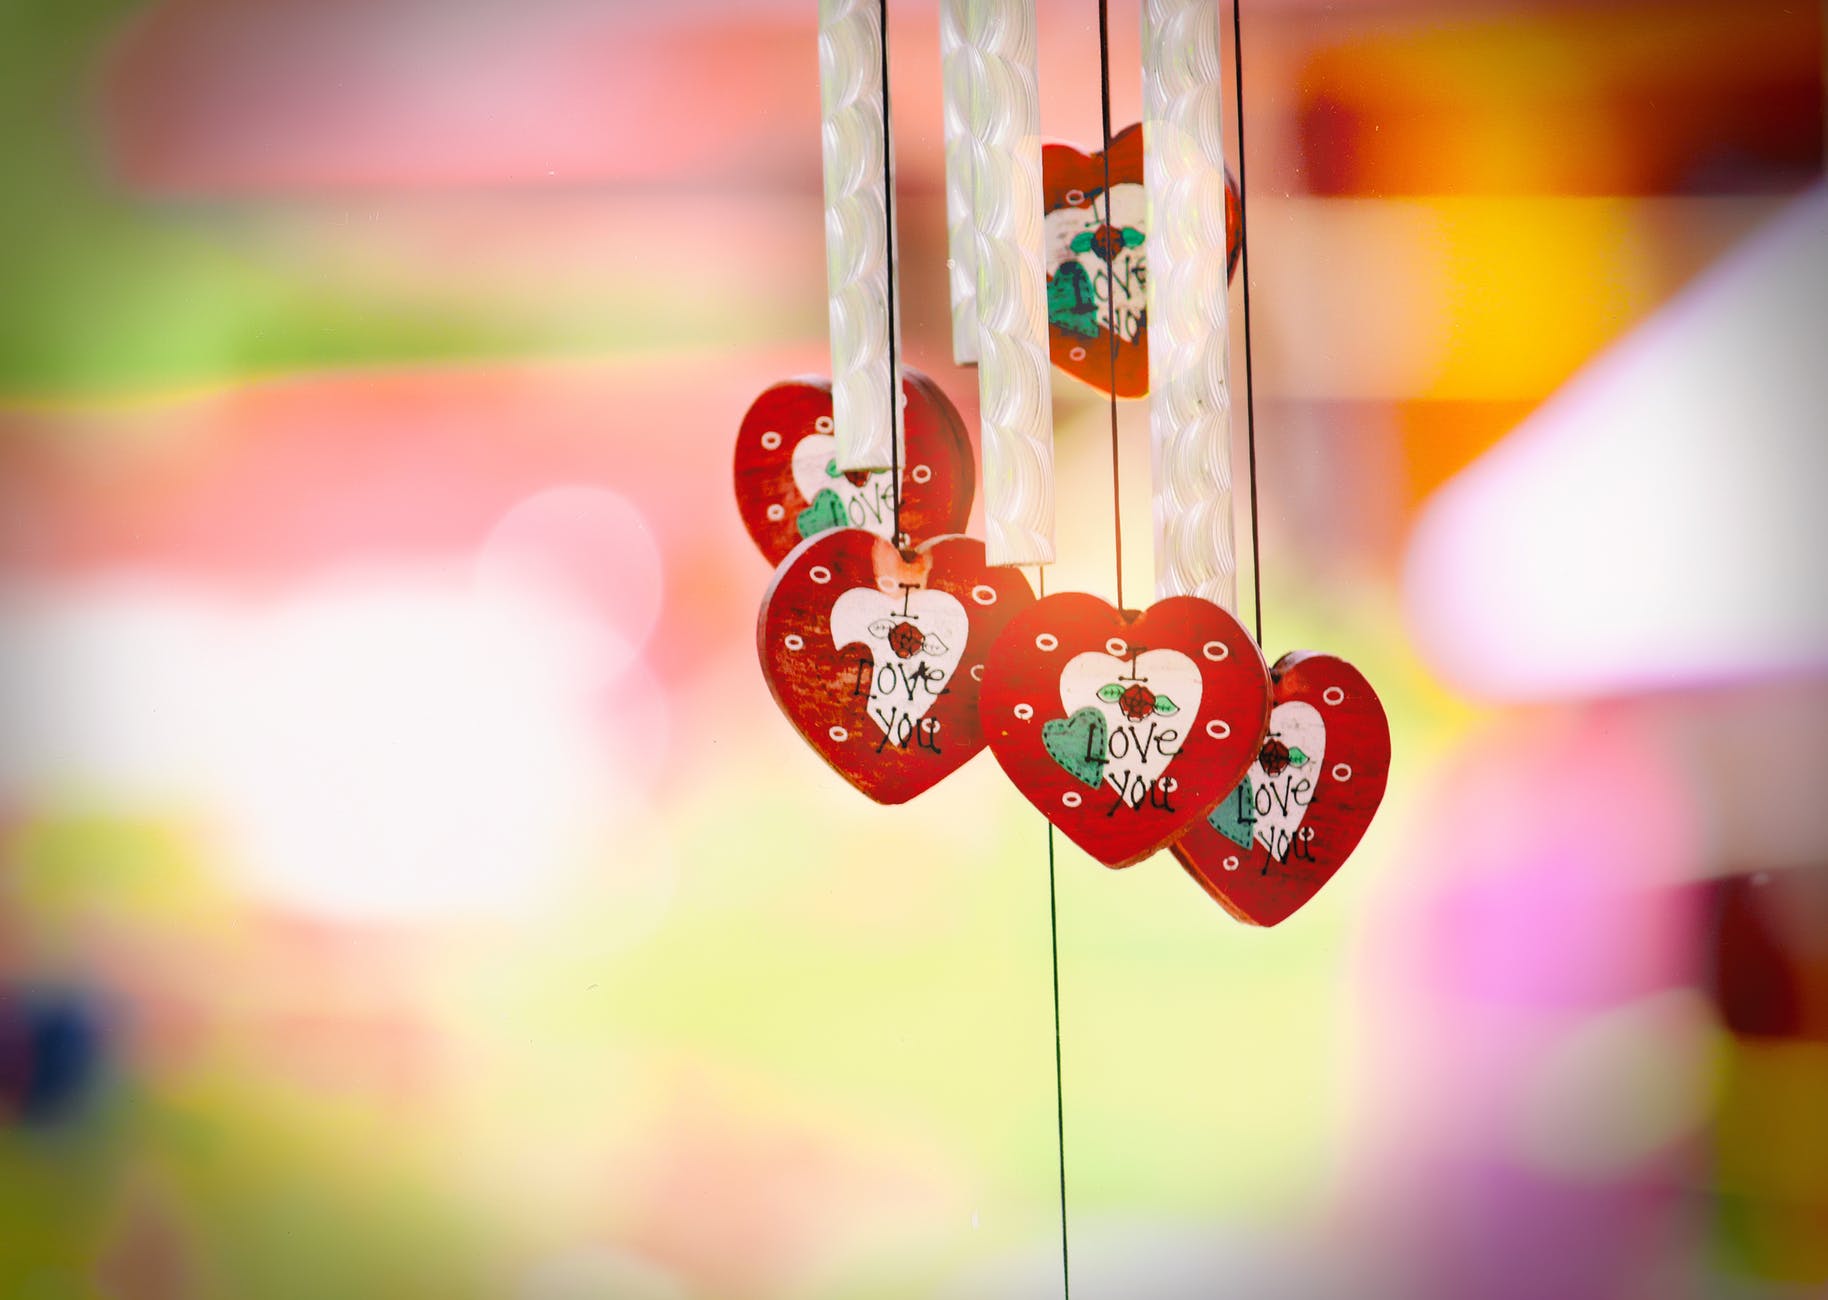 Photo by Manesh Xavier on Pexels.com[/caption] How to Craft Chimes Did you know that you could take old reddish-brown clay made of unglazed ceramics to make chimes? (Terra Cotta Pots) The pots will make up a nice batch of chimes. To get started you will need up to ten ceramic pots. The diameter should be around 1 ¼ inch and up to 1 ¾ inches. You will need wood, 4 inches time’s six plates and varnish finish. You will need up to ten 5/8 inch grommet screws. Add up to ten rounds of beads made of wood and around 3/8 inches of spool, i.e. up to 30 pounds of anglers’ line. You will need wire up to 20 yardsticks, i.e. spools and a 7/8 inch grommet screw. How to make chimes: Now you are ready to make your chimes. On the wooden plates, add a coat of varnish, allow drying, and continuing a few times adding the varnish as needed. Use your grommet 5/8 screw, and screw it in by hand, screwing it into the plate. If you add, additional screws keep them an inch apart. Cut your line measuring lengthwise. Next, at each end feed the line through, and into the grommet screw. Work the line through until you reach the lower region of the vessel. Once you finish the step, run another line measuring lengthwise through your beads of wood, and fasten so that it forms a dual bond. You can use adhesives to fasten the area if you feel the need to do so. Take the other vessels you have available to create your chimes, threading them and regulate the measurement lengthwise as needed. You can now add the grommet 7/8 screws to hang your chimes. Fasten the screws at the middle of your crown plate. Use the wire outlined in this article to hang your chimes. You are now finished with your chimes. To complete this article I will give you a few tips on crafting snakes to place beneath the lower areas of your door so that you can keep wind out during the cold months. If you do not have a yard of fabric around your house, purchase a yard of strong textile weaves of fabric or corduroy. You will need thread that coordinates with your fabric. In addition, you will need stuffing, dry beans, and rice. Add some adhesives and felt, preferably red, white, and black. Next, gather your fabric and trim up to 10 inches wide, and around 6-inches lengthwise. Measure your door before cutting, since you will need length wider than the bottom area of your door. Use two parts of the outer regions of your fabric, gather and hand or machine sew at least 3 sides and around 3/8 inches away from the edge of your fabric. You will need to leave a short region of your fabric available. On the right side of your fabric conceal your seams and add your filling, i.e. stuffing. Turn up your edges and then stitch them and choose additives to design your snake. You can use glue, buttons, studs, etc to make your eyes if you choose to do so. As well, you can use your felt to make up the mouth, nose, and so on. Use the red felt to make the lips, tongue, etc, and the black to make up the surrounding features about the eyes, since as lids, or brows. The snakes will make up a great warming gift also. You can craft a few to give to your friends, as well as keep a few around your home to keep it warm in the winter months. [caption id="attachment_181" align="alignnone" width="647"]
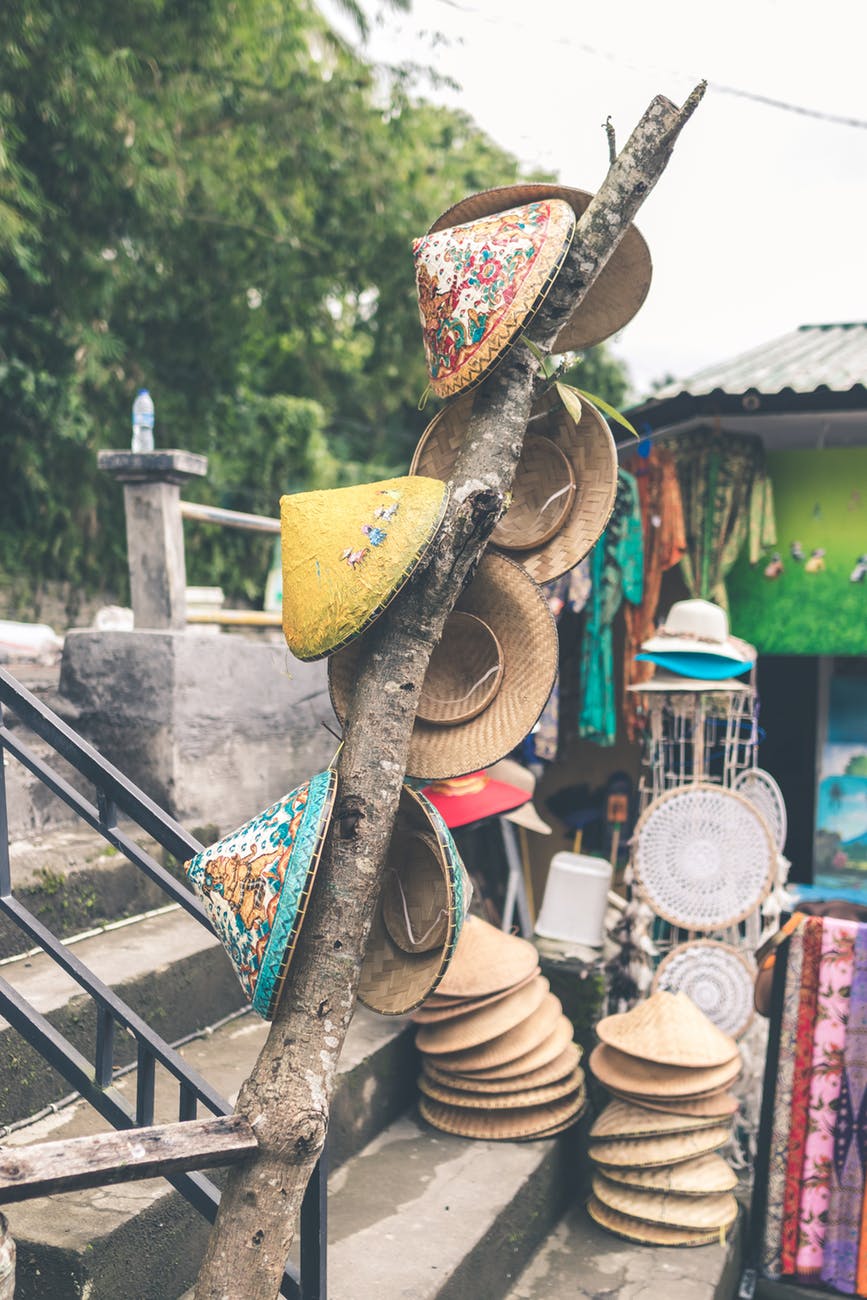 Photo by Artem Bali on Pexels.com[/caption] Website Stores http://art-and-craft-hobbies.com/ http://art-and-craft-hobbies.com/shop/ group Art Studio of Lewis Baber , Post and Sell your ART. https://www.etsy.com/shop/Magikaljourneys?ref=seller-platform-mcnavArt Two Old Guys Folk Art Share this: http://Gallery-Wall-Art.com
Photo by Manesh Xavier on Pexels.com[/caption] How to Craft Chimes Did you know that you could take old reddish-brown clay made of unglazed ceramics to make chimes? (Terra Cotta Pots) The pots will make up a nice batch of chimes. To get started you will need up to ten ceramic pots. The diameter should be around 1 ¼ inch and up to 1 ¾ inches. You will need wood, 4 inches time’s six plates and varnish finish. You will need up to ten 5/8 inch grommet screws. Add up to ten rounds of beads made of wood and around 3/8 inches of spool, i.e. up to 30 pounds of anglers’ line. You will need wire up to 20 yardsticks, i.e. spools and a 7/8 inch grommet screw. How to make chimes: Now you are ready to make your chimes. On the wooden plates, add a coat of varnish, allow drying, and continuing a few times adding the varnish as needed. Use your grommet 5/8 screw, and screw it in by hand, screwing it into the plate. If you add, additional screws keep them an inch apart. Cut your line measuring lengthwise. Next, at each end feed the line through, and into the grommet screw. Work the line through until you reach the lower region of the vessel. Once you finish the step, run another line measuring lengthwise through your beads of wood, and fasten so that it forms a dual bond. You can use adhesives to fasten the area if you feel the need to do so. Take the other vessels you have available to create your chimes, threading them and regulate the measurement lengthwise as needed. You can now add the grommet 7/8 screws to hang your chimes. Fasten the screws at the middle of your crown plate. Use the wire outlined in this article to hang your chimes. You are now finished with your chimes. To complete this article I will give you a few tips on crafting snakes to place beneath the lower areas of your door so that you can keep wind out during the cold months. If you do not have a yard of fabric around your house, purchase a yard of strong textile weaves of fabric or corduroy. You will need thread that coordinates with your fabric. In addition, you will need stuffing, dry beans, and rice. Add some adhesives and felt, preferably red, white, and black. Next, gather your fabric and trim up to 10 inches wide, and around 6-inches lengthwise. Measure your door before cutting, since you will need length wider than the bottom area of your door. Use two parts of the outer regions of your fabric, gather and hand or machine sew at least 3 sides and around 3/8 inches away from the edge of your fabric. You will need to leave a short region of your fabric available. On the right side of your fabric conceal your seams and add your filling, i.e. stuffing. Turn up your edges and then stitch them and choose additives to design your snake. You can use glue, buttons, studs, etc to make your eyes if you choose to do so. As well, you can use your felt to make up the mouth, nose, and so on. Use the red felt to make the lips, tongue, etc, and the black to make up the surrounding features about the eyes, since as lids, or brows. The snakes will make up a great warming gift also. You can craft a few to give to your friends, as well as keep a few around your home to keep it warm in the winter months. [caption id="attachment_181" align="alignnone" width="647"] Photo by Artem Bali on Pexels.com[/caption] Website Stores http://art-and-craft-hobbies.com/ http://art-and-craft-hobbies.com/shop/ group Art Studio of Lewis Baber , Post and Sell your ART. https://www.etsy.com/shop/Magikaljourneys?ref=seller-platform-mcnavArt Two Old Guys Folk Art Share this: http://Gallery-Wall-Art.com
Friday, December 7, 2018
Store-2-old-guys.com: How to Craft Basket Flowers
Store-2-old-guys.com: How to Craft Basket Flowers: Photo by Pixabay on Pexels.com [/caption] How to Craft Basket Flowers We have walked through the steps of creating the May basket, now...
How to Craft Basket Flowers
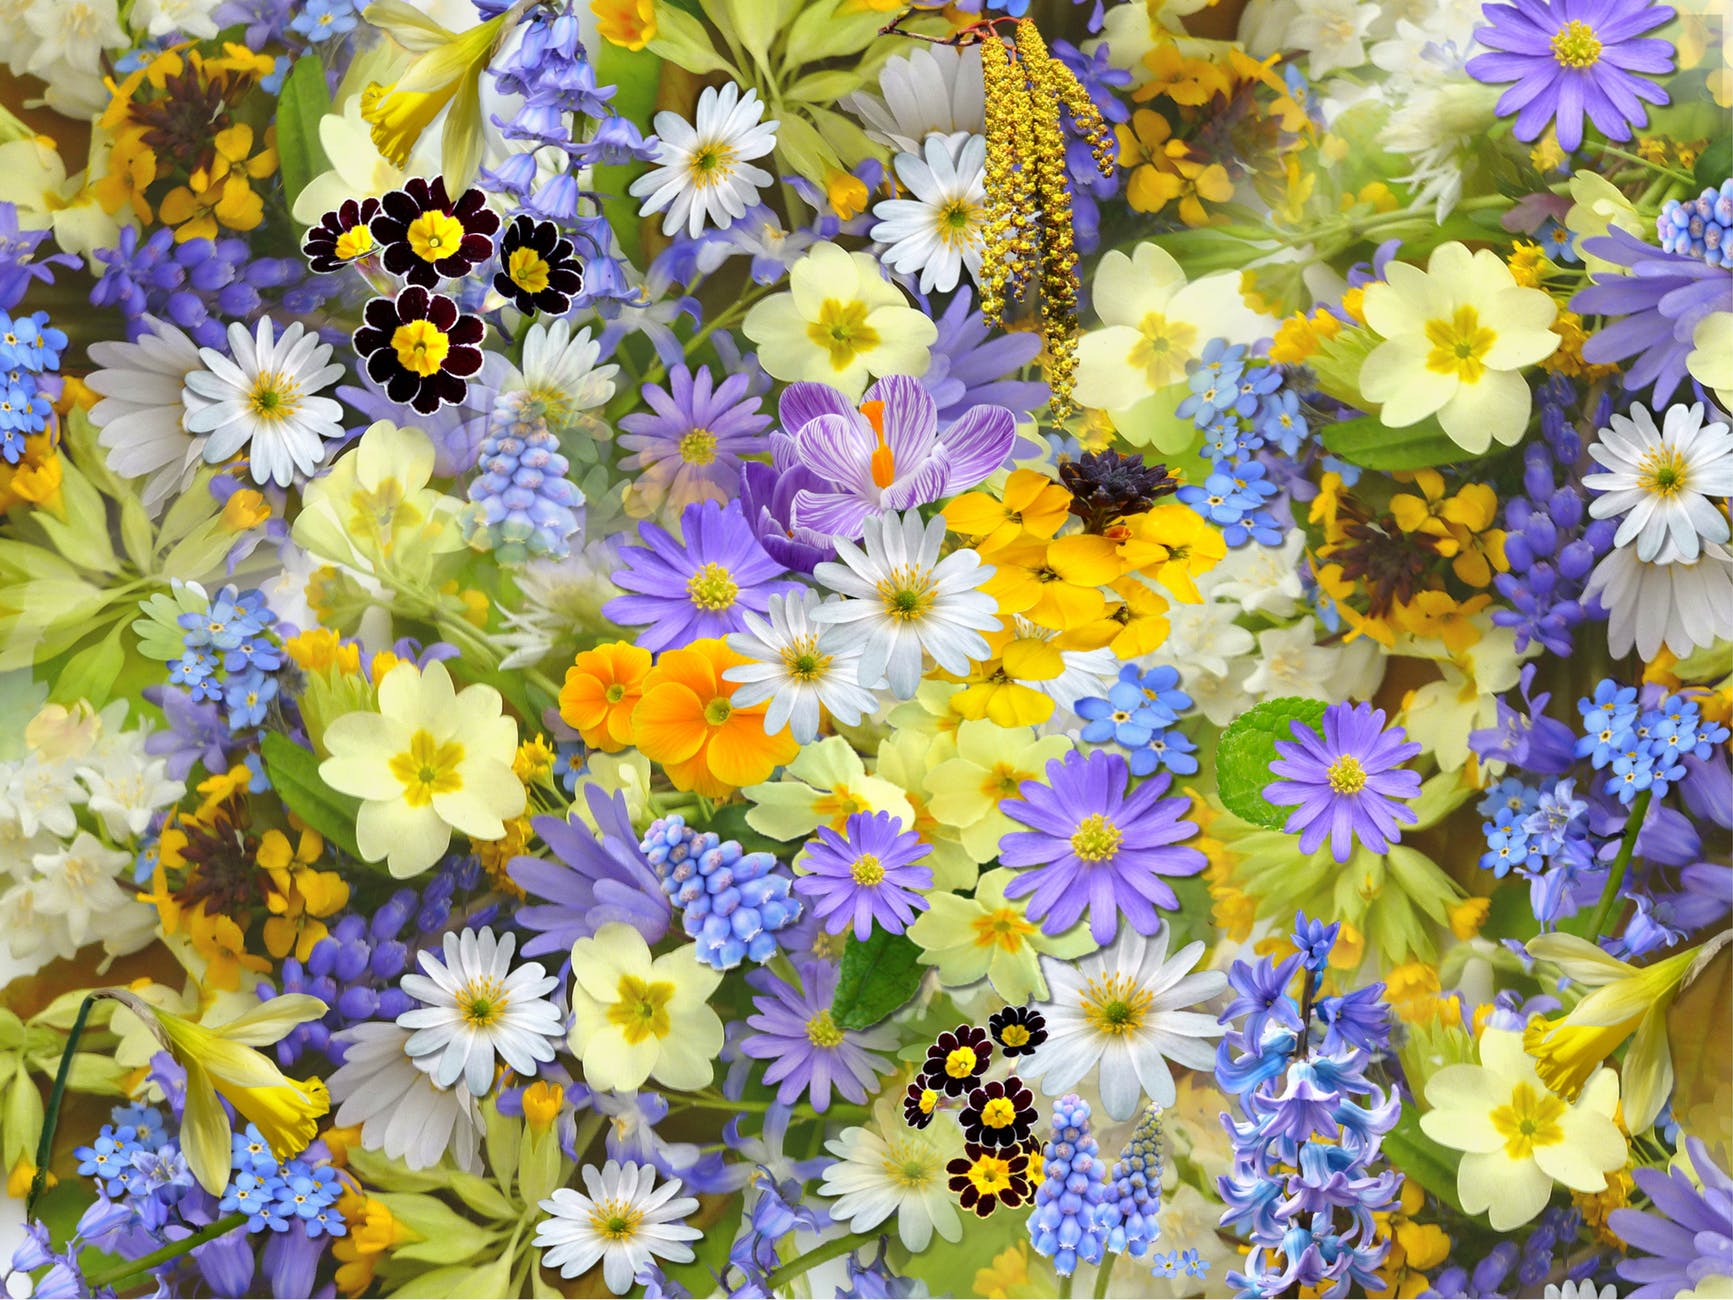 Photo by Pixabay on Pexels.com[/caption]
How to Craft Basket Flowers We have walked through the steps of creating the May basket, now it is time to craft your flowers. We have added handles, basket, etc, to your quilt, which at this time you should have created six blocks to make your basket. How to create flowers: We are quilting flowers. On the left side of your fabric, you will have invented pink squares. You can trace your pattern to start your project. Trace at least one flower (Choice), use your outside solid lines, and repeat your steps to create the foliage, or leaves. Use the variety of green patterns and use the yellow narrow pieces to create the center of your flower. You can design roses if you like. Use a variety of greens, red, pink, white, etc, if you intend to create roses and petals. Along the lines, you have marked, cut the fabric strips sewn onto your fabric, the shaped patterns that form your design, cutting only near the lines. Use freezer paper and turn it over so that you reveal the side that does not have a shine. You want to create a starting line for the six centers of your flowers, and the flowers also. Once you mark the 12 parts, mark the leaves (12), marking them inside the dash lines. Now you are ready to cut your shapes. You will need an iron and board. Use your hot press, or iron to press the flowers on your paper, pressing in the middle of your flowers on the left side and in the middle. You want the glossy paper turned in the direction of your fabric flower at this point. Do the same with the center of the flowers and foliage. Next, collect your yellow filament/thread and tone it with the center of your flower. If the colors do not match, try another shade of yellow. Run lines of stitches into your cloth, which encloses the ring of the freezer paper. You want to congregate your material around this ring, so pull your filament up at the end. Now, tie your thread, press the ring, and use your starch bottle, spraying the region. Do the same for the center of your flowers. Next, use your variety of green filaments that match your leaves and collect the allowances at the seam. (1/4 inch) Collect around the foliage and streamlines of stitches along your fabric, about the enclosed region of your ring that is designed on the freezer paper. You want to collect your textile about the ring. Pull your filament/thread up at the finish and tie it, pressing the ring. Again, spray with starch. When you congregate your allowances at the flower seams, snip the inner points of the flower corolla/petals where the flower collectively forms a ring. You will need to collect your thread that matches the color of your petals, such as pink. Just as you collected the edges of your leaves, do the same for your corollas. Once you finish running stitch lines in your fabric, which you have enclosed freezer paper about the ring, you will need to gather your material about the ring. Next, pull your strands of thread up at the finish. Next, bind your filament and then press the ring. Press, and spray the region with fabric starch. Now seam your allowances, i.e. snip the central points of the leaves, flower center, etc where the flower collectively forms a ring. Press and starch to complete your crafting task: [gallery ids="137,133" type="rectangular"] Now you are ready to assemble the top of your quilt. After you assemble, you can move to finish your craft. Website Stores
http://art-and-craft-hobbies.com/ http://art-and-craft-hobbies.com/shop/ group Art Studio of Lewis Baber , Post and Sell your ART. https://www.etsy.com/shop/Magikaljourneys?ref=seller-platform-mcnavArt Two Old Guys Folk Art Share this: http://Gallery-Wall-Art.com
Thursday, December 6, 2018
Buying Paintings: Cubism

Buying Paintings: Cubism What started out as a rather avant-garde art movement has become one of the greatest examples of artistic forms breaking that mold of convention, revolutionizing European painting and sculpture up to the present century, and was first developed between 1908 and 1912 during a collaboration between Georges Braque and Pablo Picasso with influences from the works of Paul Cezanne and Tribal art. Though the movement itself was not long-lived, it began an immense creative explosion that has had long lasting repercussions, and focused on the underlying concept that the essence of an object can only be captured by showing it from multiple points of view simultaneously. The movement had run its’ course by the end of World War I, and influenced similar ideal qualities in the Precisionism, Futurism, and Expressionistic movements. In the paintings representative of Cubist artworks, objects are broken up and reassembled in an abstracted form, and the artist depicts the subject in a multitude of viewpoints instead of one particular perspective. Surfaces seemingly intersecting at random angles to produce no real sense of depth, with background and object interpenetrating with one another, and creating the shallow space characteristic of Cubism. French art critic Louis Vauxcelles first used the term cubism, and it was after viewing a piece of artwork produced by Braque, the term was in wide use though the creators kept from using the term for quite some time. The Cubist movement expanded from France during this time, and became such a popular movement so quickly that critics began referring to a Cubist school of artists influenced by Braque and Picasso, many of those artists to Cubism into different directions while the originators went through several distinct phases before 1920. As Braque and Picasso worked to further to advance their concepts along, they went through a few distinct phases in Cubism, and which culminated in both Analytic and Synthetic Cubism. With Analytic Cubism, a style was created that incorporated densely patterned near-monochrome surfaces of incomplete directional lines and modeled forms that play against each other, the first phases of which came before the full artistic swing of Cubism. Some art historians have also pegged a smaller “Hermetic” phase within this Analytical state, and in which the work produced is characterized by being monochromatic and hard to decipher. In the case with Synthetic Cubism, which began in 1912 as the second primary phase to Cubism, these works are composed of distinct superimposed parts. These parts, painted or pasted on the canvas, were characterized by brighter colors. Unlike the points of Analytical Cubism, which fragmented objects into composing parts, Synthetic Cubism attempted to bring many different objects to create new forms. This phase of Cubism also contributed to creating the collage and papier colle, Picasso used collage complete a piece of work, and later influenced Braque to first incorporate papier colle into his work. Similar to collage in practice, but very much a different style, papier colle consists of pasting materials to a canvas with the pasted shapes representing objects themselves. Braque had previously used lettering, but the works of the two artists began to take this idea to new extremes at this point. Letters that had previously hinted at objects became objects as well, newspaper scraps began the exercise, but from wood prints to advertisements were all elements incorporated later as well. Using mixed media and other combinations of techniques to create new works, and Picasso began utilizing pointillism and dot patterns to suggest planes and space. By the end of the movement, with help from Picasso and Braque, Cubism had influenced more than just visual art. The Russian composer Igor Stravinsky was inspired by Cubism in some examples of his music that reassembled pieces of rhythm from ragtime music with the melodies from his own country’s influence. In literature, Cubism influenced poets and their poetry with elements parallel with Analytical and Synthetic Cubism, and this poetry frequently overlaps other movements such as Surrealism and Dadaism. 659 Website Stores
http://art-and-craft-hobbies.com/ http://art-and-craft-hobbies.com/shop/ group Art Studio of Lewis Baber , Post and Sell your ART. https://www.etsy.com/shop/Magikaljourneys?ref=seller-platform-mcnavArt Two Old Guys Folk Art Share this: http://Gallery-Wall-Art.com Website Stores
Subscribe to:
Posts (Atom)